The Board
Overview
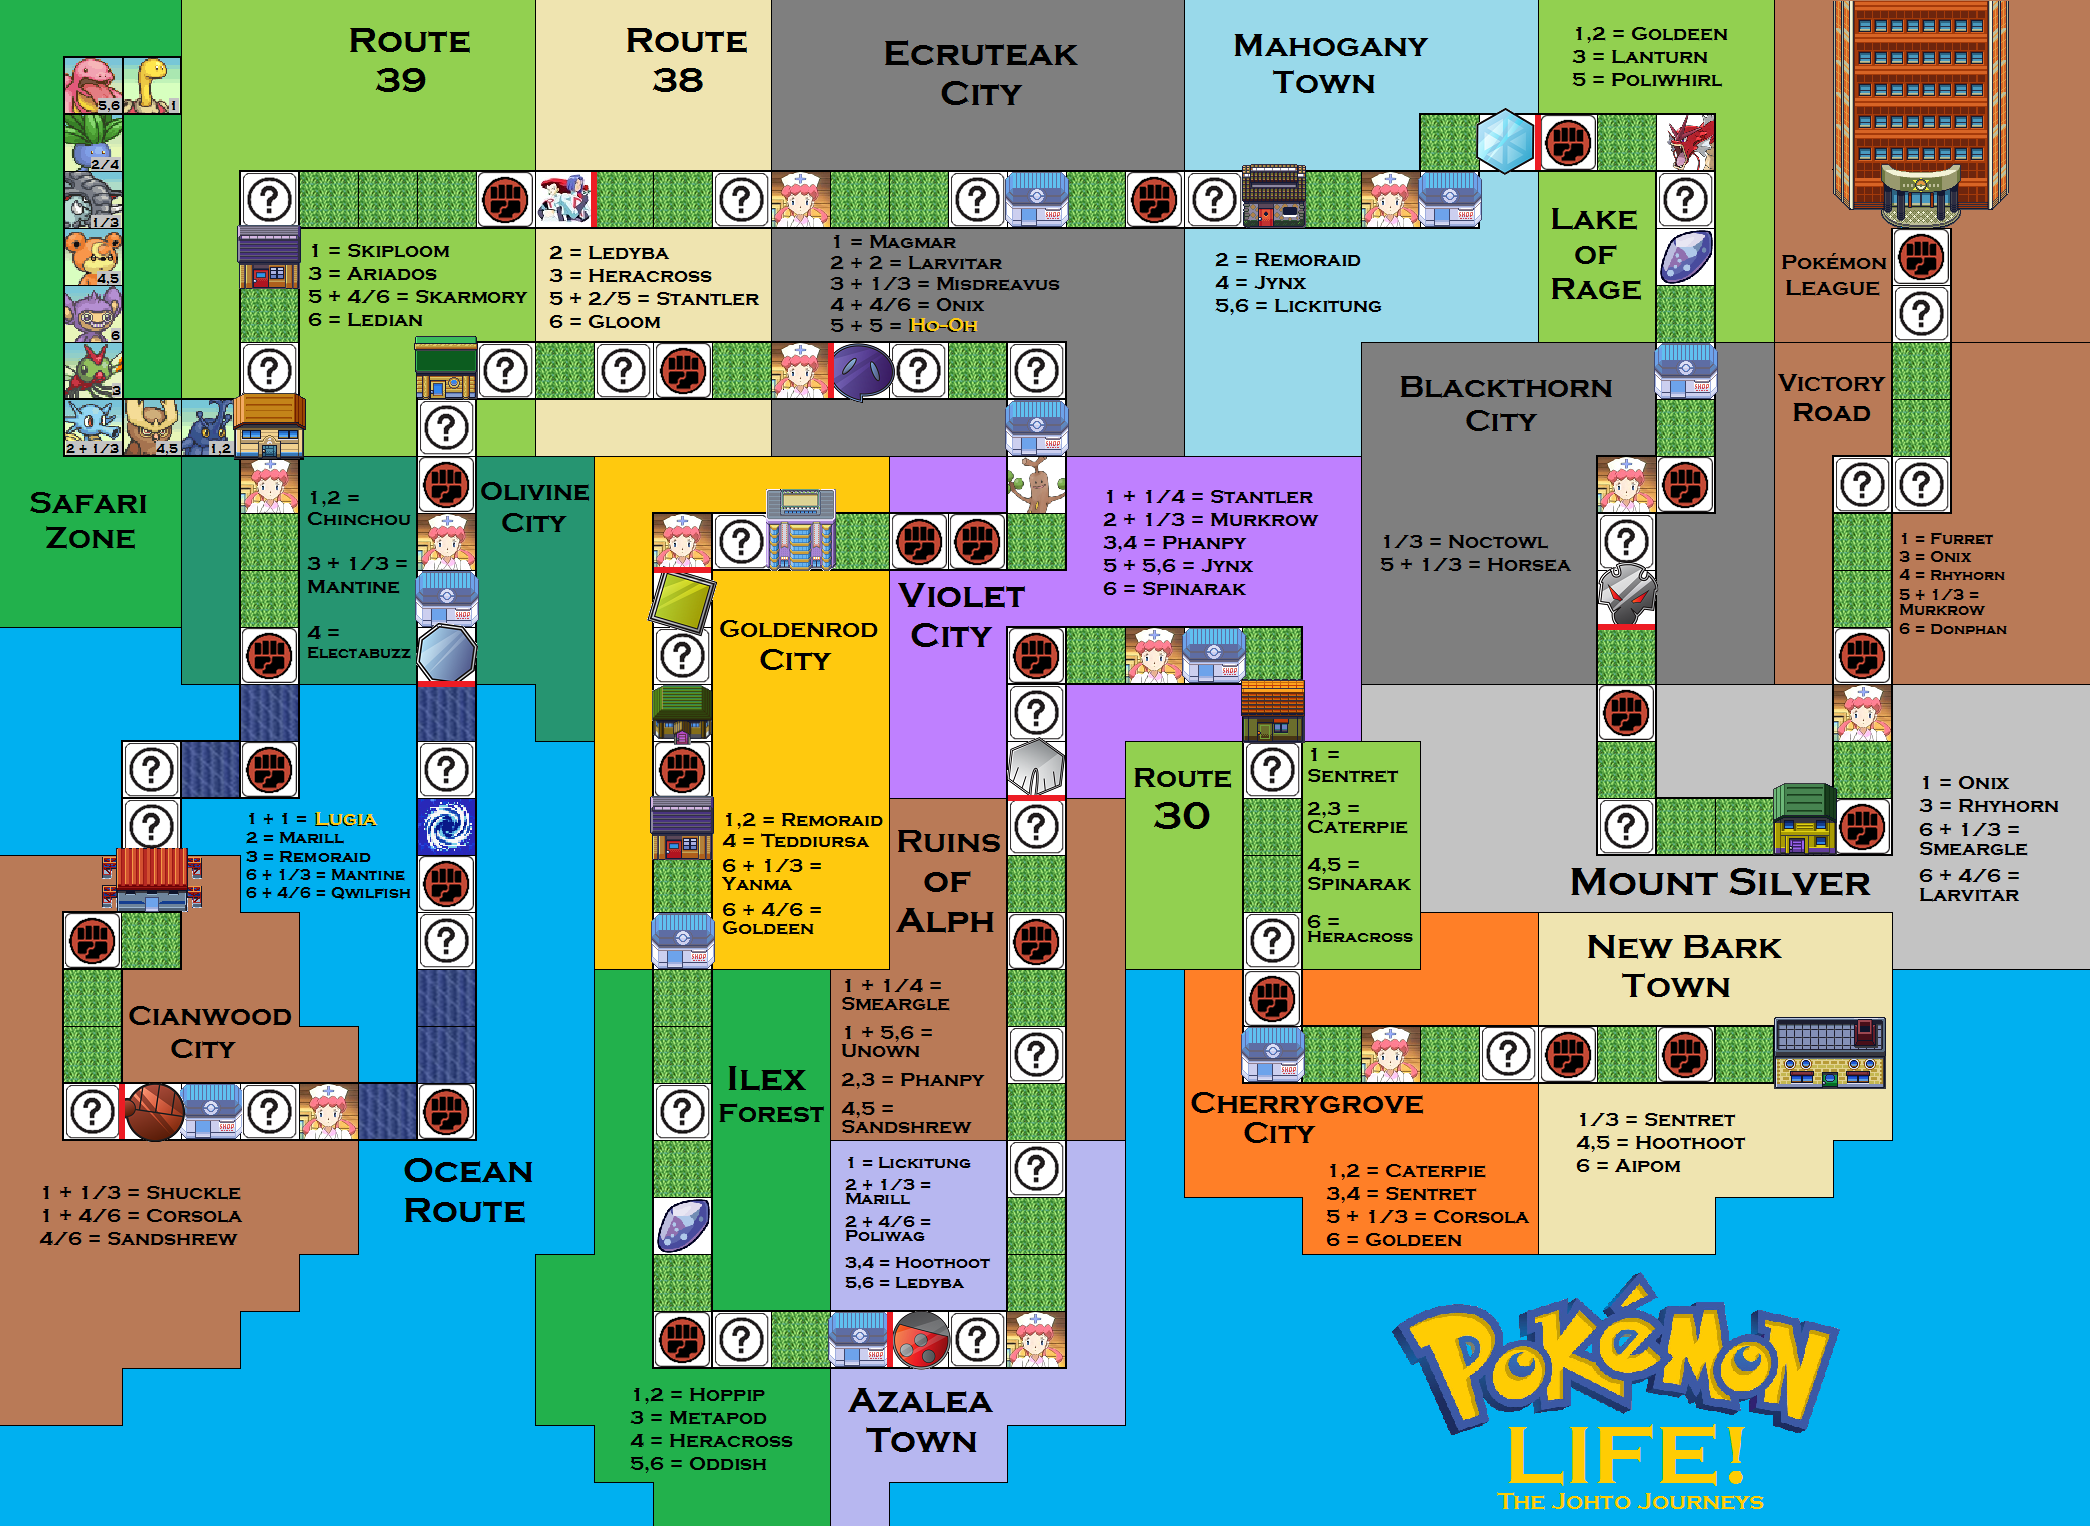
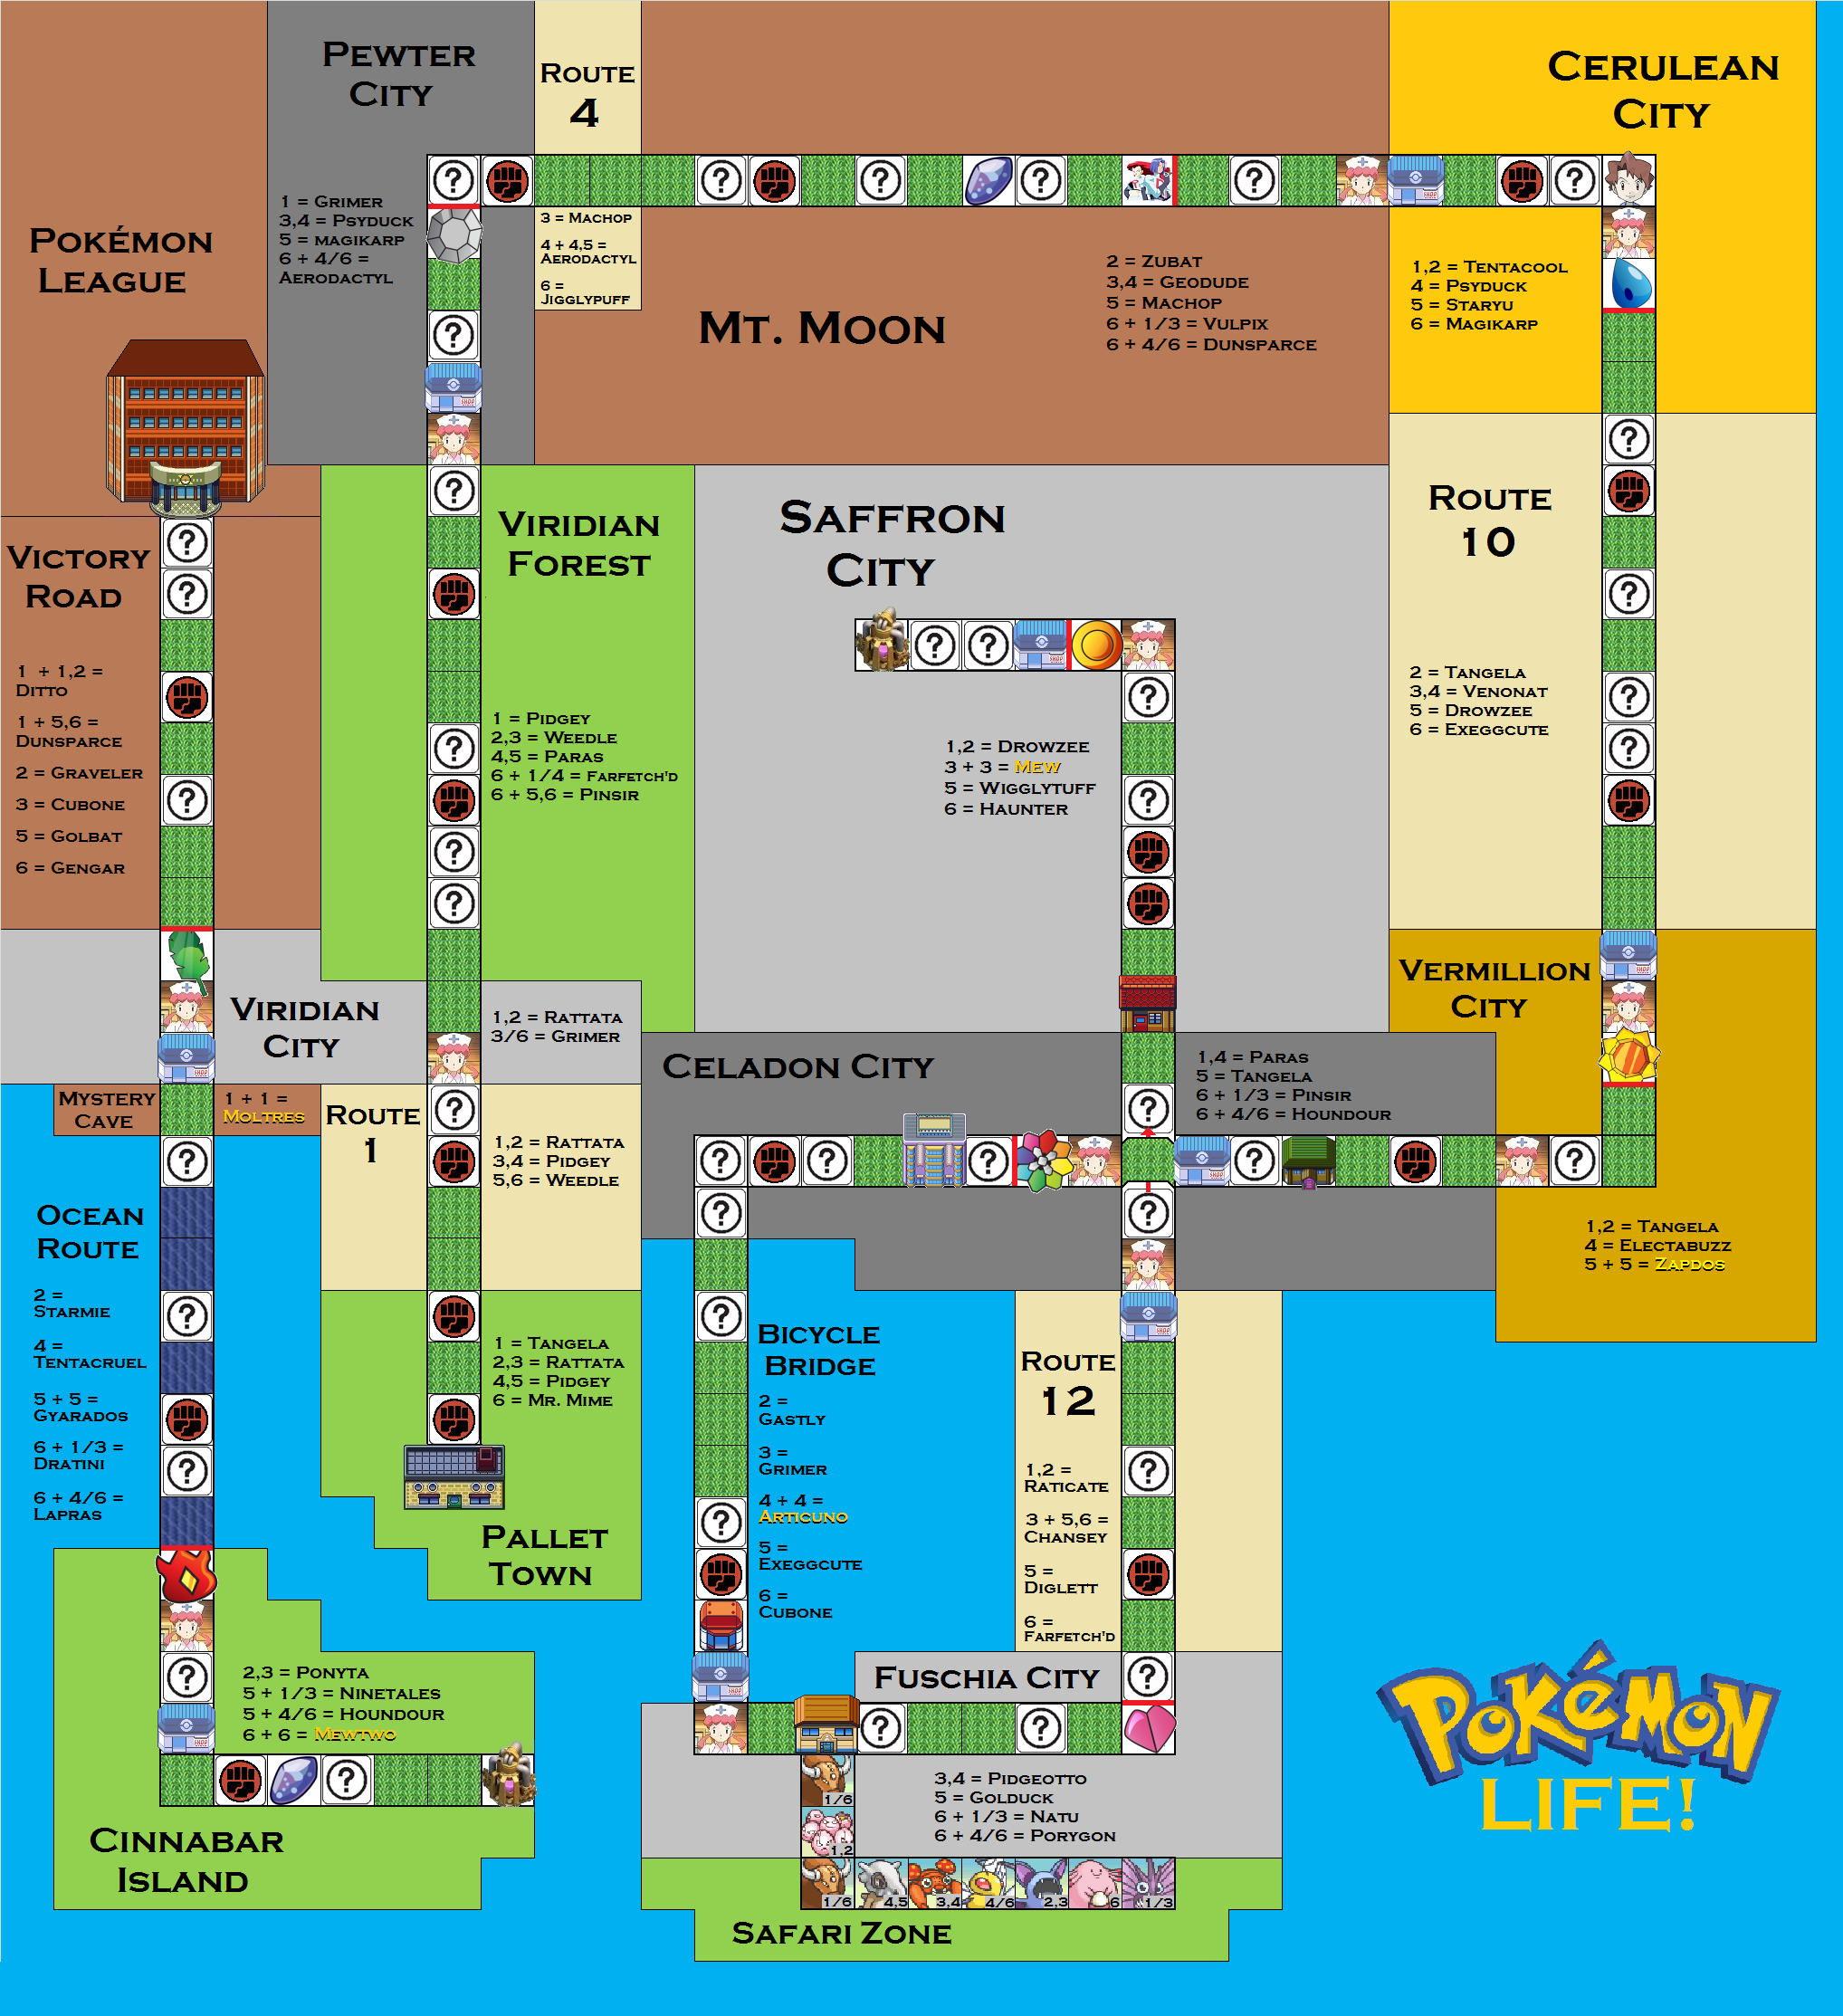
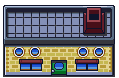
As you can see, Pokémon Life includes a colorful board. The board shown to the left is the board for the Johto expansion theme. The basic game uses the Kanto board.
Except for the special tiles, the two boards are very similar. This page will discuss every kind of tile, divided in several sections, and how you should move on the board.
A good understanding of the board is very important for developing tactics to outsmart your opponents, so make sure you read every section.
Sections
Areas
The board is divided in many different areas, easily spotted by their different colouring. The largest difference between areas are the Pokémon you can capture.
There are also several abilities that can only be used once per area, to avoid 'stacking' of a single Pokémon.
Moving
Movement in Pokémon Life is very straightforward (pun intended). You start the game on the Laboratory, and throw the move dice at the start of your every turn. After possibly changing the outcome, you just move that amount of tiles forward.
Movement is forward by default. Move outcomes can not be reduced below zero. If you use an ability that changes the movement direction to backward, you move exactly the same, just in the other direction. Moving four tiles backward and using a Prof. Oak will not make you move five tiles backward, but three.
Every tile you ever land on is triggered (even if you move twice in one turn because of for example an event card).
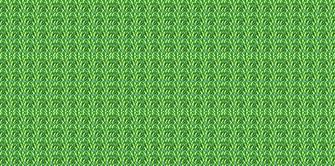
Grass tiles
The first common tile we will talk about is the Grass tile (and the Water tile, which functions the same way). When you land on a Grass tile, you simply have to throw the capture dice. If the outcome of your dice throw corresponds to one of the numbers shown on the board, you receive that Pokémon (or you have to throw again).
The Pokémon you can capture and their numbers are shown on the board in each area. This means that the Pokémon you can capture change depending on the area you are currently in. The syntax of the numbers are as follows:
- / stands for 'to'. For example, 1/3 means 1 to 3.
- , stands for 'or'. For example, 1,5 means 1 or 5.
- + stands for 'and'. For example, 4 + 4 means 4, and then 4 again. You may only throw the dice a second time if you have thrown 4 the first time.
Each Pokémon can only be caught a certain amount of times, before it endangers the survival of the Pokémon in the wild. Most Grass tile Pokémon can only be in the teams of trainers 5 times. Some, such as Paras and Pidgey, can be caught 8 times. There can be 3 of one Victory or Event Pokémon in trainers' hands. Legendary and Starter Pokémon are unique, there can only be one of them per game. It's easy to see whether you can add a Pokémon to your team, because the card will only be printed as many times as the Pokémon is allowed. In practice, you will almost never experience this limit.
Event tiles
When you land on an Event tile, you have to draw a card from the Event pile. You may use one ability to alter the way you draw a card, combining abilities does not work.
After drawing a card, you have to execute it. There are many different event cards, you can find a summarized list here.


Duel tiles
When you land on a Duel tile (also called Battle tile), you may choose one of your opponents to duel. You will both use one Pokémon. The winner of the duel may draw a Victory card.
The player who initiated the duel may choose his battle Pokémon after the opponent has told his. If you want information on the different items and their effect on duels, check the items page.
After both players have chosen their Pokémon they throw the battle dice simultaneously. One Pokémon will be knocked out and the other will be victorious, unless the outcomes result in a draw.
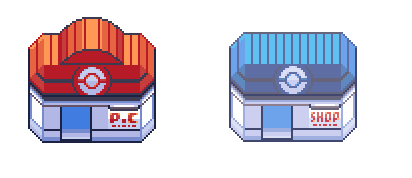
PokéCenter and Market tiles
The Pokécenter tile is a unique tile in that you also benefit from it when you pass it. When you pass a Pokécenter tile (the tile is a portrait of Nurse Joy), you may heal one of your Pokémon. When you land on it, you may heal three Pokémon. If you do not want to heal your Pokémon, you may leave them knocked out.
The Market tile is perhaps the most valuable tile in Pokémon Life. It is the most reliable way to obtain items and PokéBalls. When you land on a Market tile you have to throw the dice. You will always receive an item, based on the outcome of the dice throw:
- 1 = Gust of Wind
- 2 = Bill
- 3,4 = Full Restore
- 5 = Miracle Stone
- 6 + 1/5 = PokéBall
- 6 + 6 = Master Ball
Gym tiles and Roadblocks
There are eight Gym tiles in Pokémon Life, each of which is paired with a Roadblock. Roadblocks force you stop moving and land on the tile before the Roadblock, regardless of your move dice outcome. After a Roadblock has stopped you once, it will disappear (for you).
When you land on a Gym tile, you have to try and defeat the Gym leader, using (if needed) all of your Pokémon. If you defeat the Gym leader, you receive the corresponding badge. If you lose, tough luck. You won't be able to try again (unless you can move backward). You can read more on Gyms on the homepage.
Special tiles
Laboratory
The Laboratory is the tile on which you start your Pokémon adventure. On this tile you will receive 6 PokéBalls, 5 Full Restores and a Starter Pokémon.

Miracle Stone
When you land on the Miracle Stone tile, you may instantly evolve one of your Pokémon. This works exactly the same as using a Miracle Stone item on one of your Pokémon. You may stay put or move back to this tile using abilities to evolve more of your Pokémon, which can be very helpful if you still need to evolve many Pokémon with few Battle Points.

Team Rocket
When you land on this tile (the first time you will be stopped by a Roadblock), you have to throw the dice. If you throw 1 to 3, Team Rocket steals your most recently obtained Pokémon. Evolving Pokémon does not count as obtaining them. Your Starter Pokémon cannot be stolen by Team Rocket. If you have a healthy Farfetch'd or when your last obtained Pokémon is a Kakuna, Team Rocket can't harm you. If you land on this tile a second time, Team Rocket may steal a second Pokémon.

Game Corner
At the Game Corner you can try to receive rare items! When you land on this tile you may throw the dice. If you throw 3 to 6, you receive an item. You may then choose to throw the dice again for a more valuable item instead. If you throw 1 to 2 you lose any item and receive nothing (you can no longer continue to throw).
The order of items you receive is: Bill > Full Restore > Miracle Stone > Nugget > PokéBall > Master Ball
If you for example throw 3 > 3 > 6 > 6 > 1, you will receive nothing. If you throw 4 > 5 > 3 > 3 > 3 you will receive a PokéBall, because you decided to stop gambling after receiving the PokéBall. If you throw 1 or 2 on the first throw, you will receive nothing too. If you never throw the dice, you also receive nothing.

Department Store
When you land on the Department Store, treat it as a regular Market. However, when you reach it for the first time, you receive a PokéBall for free. You do not have to land on the Department Store to receive the PokéBall, and you can only receive one free Pokéball in total.

Safari Zone
When you land on the Safari Zone, you may move through it (during the same turn). When you reach the end of the Safari Zone, you will automatically be moved back to the Safari Zone tile, where you turn will end.
You may treat each tile you land on as a Grass tile on which you can only capture the depicted Pokémon. You cannot receive a Pokémon from the Safari Zone when you draw a Breeder card in Fuschia City. You may use Aerodactyl's ability to receive a Safari Zone Pokémon, but only when you are moving through the Safari Zone.
The order of Pokémon found in the Safari Zone is as follows: Tauros > Exeggcute > Tauros > Cubone > Paras > Beedrill > Zubat > Chansey > Venomoth
Kanto only:

Bill
Bill can use his technological abilities to teleport one player to another player's location, once. The tile you land on after teleportation is triggered as usual.

Bicycle Bridge Booth
The first player to reach this tile receives one Snubbull, the other players receive a Tauros. You don't have to land on this tile to receive your Pokémon. If you land on this tile, draw a Victory card.

Mr. Fuji's House
The last player to reach this tile receives one Snorlax. You don't have to land on this tile to receive Snorlax. If you land on this tile, draw two Event cards. You cannot use any abilities that you can use when landed on Event tiles.

Sabrina's Teleporter
When you reach this tile, you will instantly be teleported to the other teleporter on the board. This does not cause you to stop moving. If for example you are standing on the tile before the teleporter, and you throw a 3. You will move one tile to the teleporter, and then you will be teleported to the other teleporter, after which you move two more tiles forward.
If you land on the teleporter, you may play an additional turn. Moving backwards through the teleporter works exactly the same as moving forward.
Johto only:

Mr. Pokémon's House
The first player to reach this tile receive an Egg containing Togepi. You don't have to land on this tile to receive the Egg. If you land on this tile, you receive one Pokémon of choice captureable in Route 30.

Sudowoodo
The last player to reach this tile receives a Sudowoodo. You don't have to land on this tile to receive Sudowoodo. If you land on this tile, treat the tile as if it were a Grass tile.

Moo Moo Milk Farm
The first player to reach this tile receives a Miltank. You don't have to land on this tile to receive Miltank. If you land on this tile you receive a Full Restore.

Whirlpool
If you land on this tile, you will be dragged to the next tile on land, which is the Cianwood City Pokémon Center. The tile you land on will be triggered as usual.
Harbor
The first player to land on the Harbor may take the boat back to the Olivine Gym, once. If you have failed to defeat the Olivine Gym, you may attempt the Gym again if you travel back.

Day Care
When you land on this tile, you may choose one of your Pokémon. You then receive an Egg containing the lowest evolutionary form of this Pokémon. You cannot breed Starters, Legendary or Special Pokémon (Miltank, Sudowoodo, Shining Gyarados, Shining Magikarp, Togepi, Togetic).

Pokémon Guru's House
When you land on this tile, you may treat it as if it were a Grass tile from one area you desire. You may choose any area.

Red Gyarados
The first player to reach this tile thas has the first seven badges receives the Shining Gyarados. You don't have to land on this tile to receive Shining Gyarados. If you land on this tile, treat it as a Duel tile. If you move back after receiving the Blackthorn badge, you can't receive Shining Gyarados.

Mr. Gold's House
When you land on this tile you may sell as many Pokémon as you like to Mr. Gold for a Nugget each.